This post is all about how to fix a chipped flack faucet. I love matte black bathroom hardware. BUT, after about two years, we had our matte black bathroom faucet chipping to good heaven. Using a matte black faucet touch-up paint is definitely an option. Mine had so much chipping that I decided to repair it in full. This post will show you all the steps to do your own matte black bathroom faucet scratch repair – maybe even better than the manufacturer!
This is a bit embarrassing, but here is a photo that shows you just how bad the chipping got on the bathroom faucet before I decided to repair it. Oh my! This does not look good. Let’s fit it.
Remove Faucet:
In order to really fix this matte black bathroom faucet, we need to remove it from the sink. Make sure to turn off the water supply valves typically located beneath the sink. Then, disconnect the supply lines. Mark which line is HOT water so you don’t get that mixed up later. Lastly, untighten the nut washer below the sink that holds the faucet in place. Here is a photo from beneath my sink.

Now lift your faucet off of your sink and take it somewhere you can sand it. I just took mine outside.
Side Note: your faucet probably has a small filter on the end of the spigot. I recommend removing that and leaving it in a bowl of white vinegar to dissolve hard water built-up while we go do our DIY matte black bathroom faucet scratch repair. You should be able to unscrew the filter with a flat-head screw driver. Here is a picture of my water filter soaking in vinegar.
Sand Off Original Black Paint:
You’ll need various grits of sand paper. Start with the gritter 80 or so to get most of the matte black paint off. I grabbed an old 80 grit sanding pad from an orbital sander and used it to hand-sand off the paint. Here you can see the paint all off of top of the faucet.
Be patient. Keep going. Here is more sanding progress as moved onto the body of the faucet. I was surprised to find the two parts are different metals! I think the top is aluminum and the bottom is brass.

Then move to the finer grits of 120 grit or so to smooth the finish. This takes maybe 5 to 10 minutes of hand sanding. Just keep at it. I think overall, we can say that the manufacturer’s paint did not hold up well over time, lol.
Here is my freshly sanded faucet. I buffed it a little more with fine grit sand paper after this photo to smooth it out a bit more, but you get the gist.
Paint Bathroom Faucet:
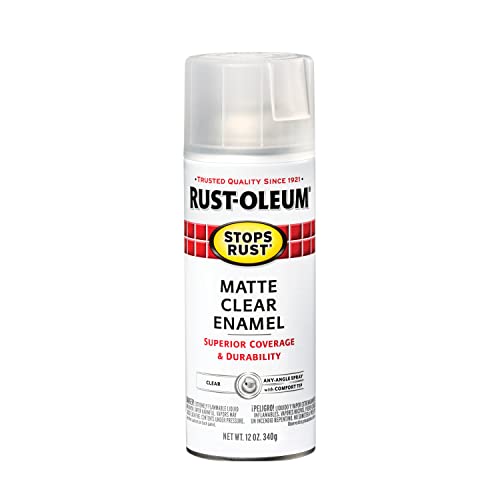
Now it’s time to paint the faucet! Make sure all the paint chips are off by giving it a quick wipe with a tack cloth. Spray paint seemed like the best option here as it is approved for metal. I opted for a Professional Primer spray paint to hopefully set a great base. Then the black protective enamel spray paint will go over the primer. The enamel was advertised as durable, so that sounded good! Finally, to help protect the paint, I finished it off with a clear coat protective enamel spray. Here is a photo of the paints I used.
So, first primer. Here I am spraying the first primer coat. It’s tricky to get all the undersides painted without spraying too much! Do short sprays. Take your time.

Rust-Oleum Professional Primer
- Ideal for use on ferrous, non-ferrous metal, wood, concrete, masonry and other such surfaces to prepare surfaces for painting, provide rust protection and a tough finish that withstands weathering
- High quality, durable oil-based formula maintains consistent, corrosion-resistant color despite the elements and provides twice the protection of paint alone
I followed the paint directions and applied a coat of black paint after about 30 minutes. I did two coats of black paint for good measure.
Rust-Oleum Protective Enamel Paint
- Weather and corrosion resistant coating protects exterior/interior surfaces like wood, metal, concrete, masonry and more
- Oil-based formula provides a durable protective coating with excellent rust prevention
- Dries to touch in 2 to 4 hours and covers up to 15 sq. ft.
- Excellent resistance to abrasion, fading and chipping
To finish it off, let’s apply two coats of clear protective enamel spray. I figured out that I could lift the faucet from below the table to get good spray coverage around the base.
After all layers of paint are done, move the faucet to a protect space and let it dry according to the paint instructions. I let mine dry a full 48 hours.
Rust-Oleum Clear Spray Paint
- Weather and corrosion resistant coating protects exterior/interior surfaces like wood, metal, concrete, masonry and more
- Oil-based formula provides a durable protective coating with excellent rust prevention
- Dries to touch in 2 to 4 hours and covers up to 15 sq. ft.
- Excellent resistance to abrasion, fading and chipping
Reinstall Your Black Bathroom Faucet:
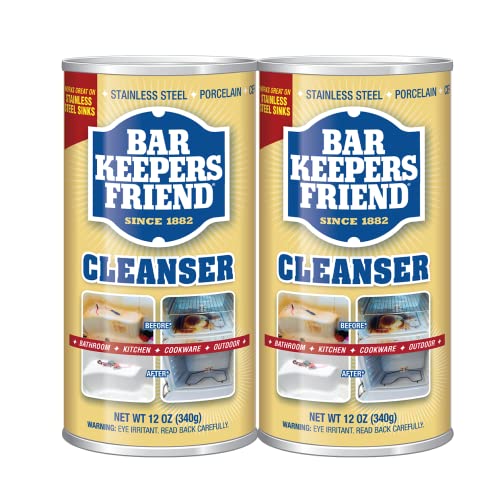
Now your matte black bathroom faucet should be looking good as new! Reinstall it similar to how you removed it. Now might be a great time to give your sink counter a good scrub. I used Barkeepers Friend to get the circle of grime that had formed around the base of the faucet. Now the countertop was looking good as new too!
Here is the freshly installed DIY matte black bathroom faucet scratch repair.

What do you think? These paints should be WAY better than the original. I will post back in a year or so and let you know how the paint has held up. Let me know in the comments below if you tried this and how it worked.
Bar Keepers Friend Cleaner
All Purpose Cleaner: Bar Keepers Friend Powder Cleanser is a grease and rust stain remover that powers through bathroom and sink stains, hard water stains, tarnish & grime. Perfect for use on cookware, kitchen surfaces and as a tile cleaner


